How to Load Your 70mm Back
This is actually a very easy process. Once you are familiar with it, you can load a 70mm camera back almost as quickly as 120 film. I’m going to cover the process in lots of detail here, though, as there are plenty of tips that are useful to 70mm newbies that you wouldn’t otherwise know about. But rest assured that once you've done it a couple of times, it is easy and intuitive.
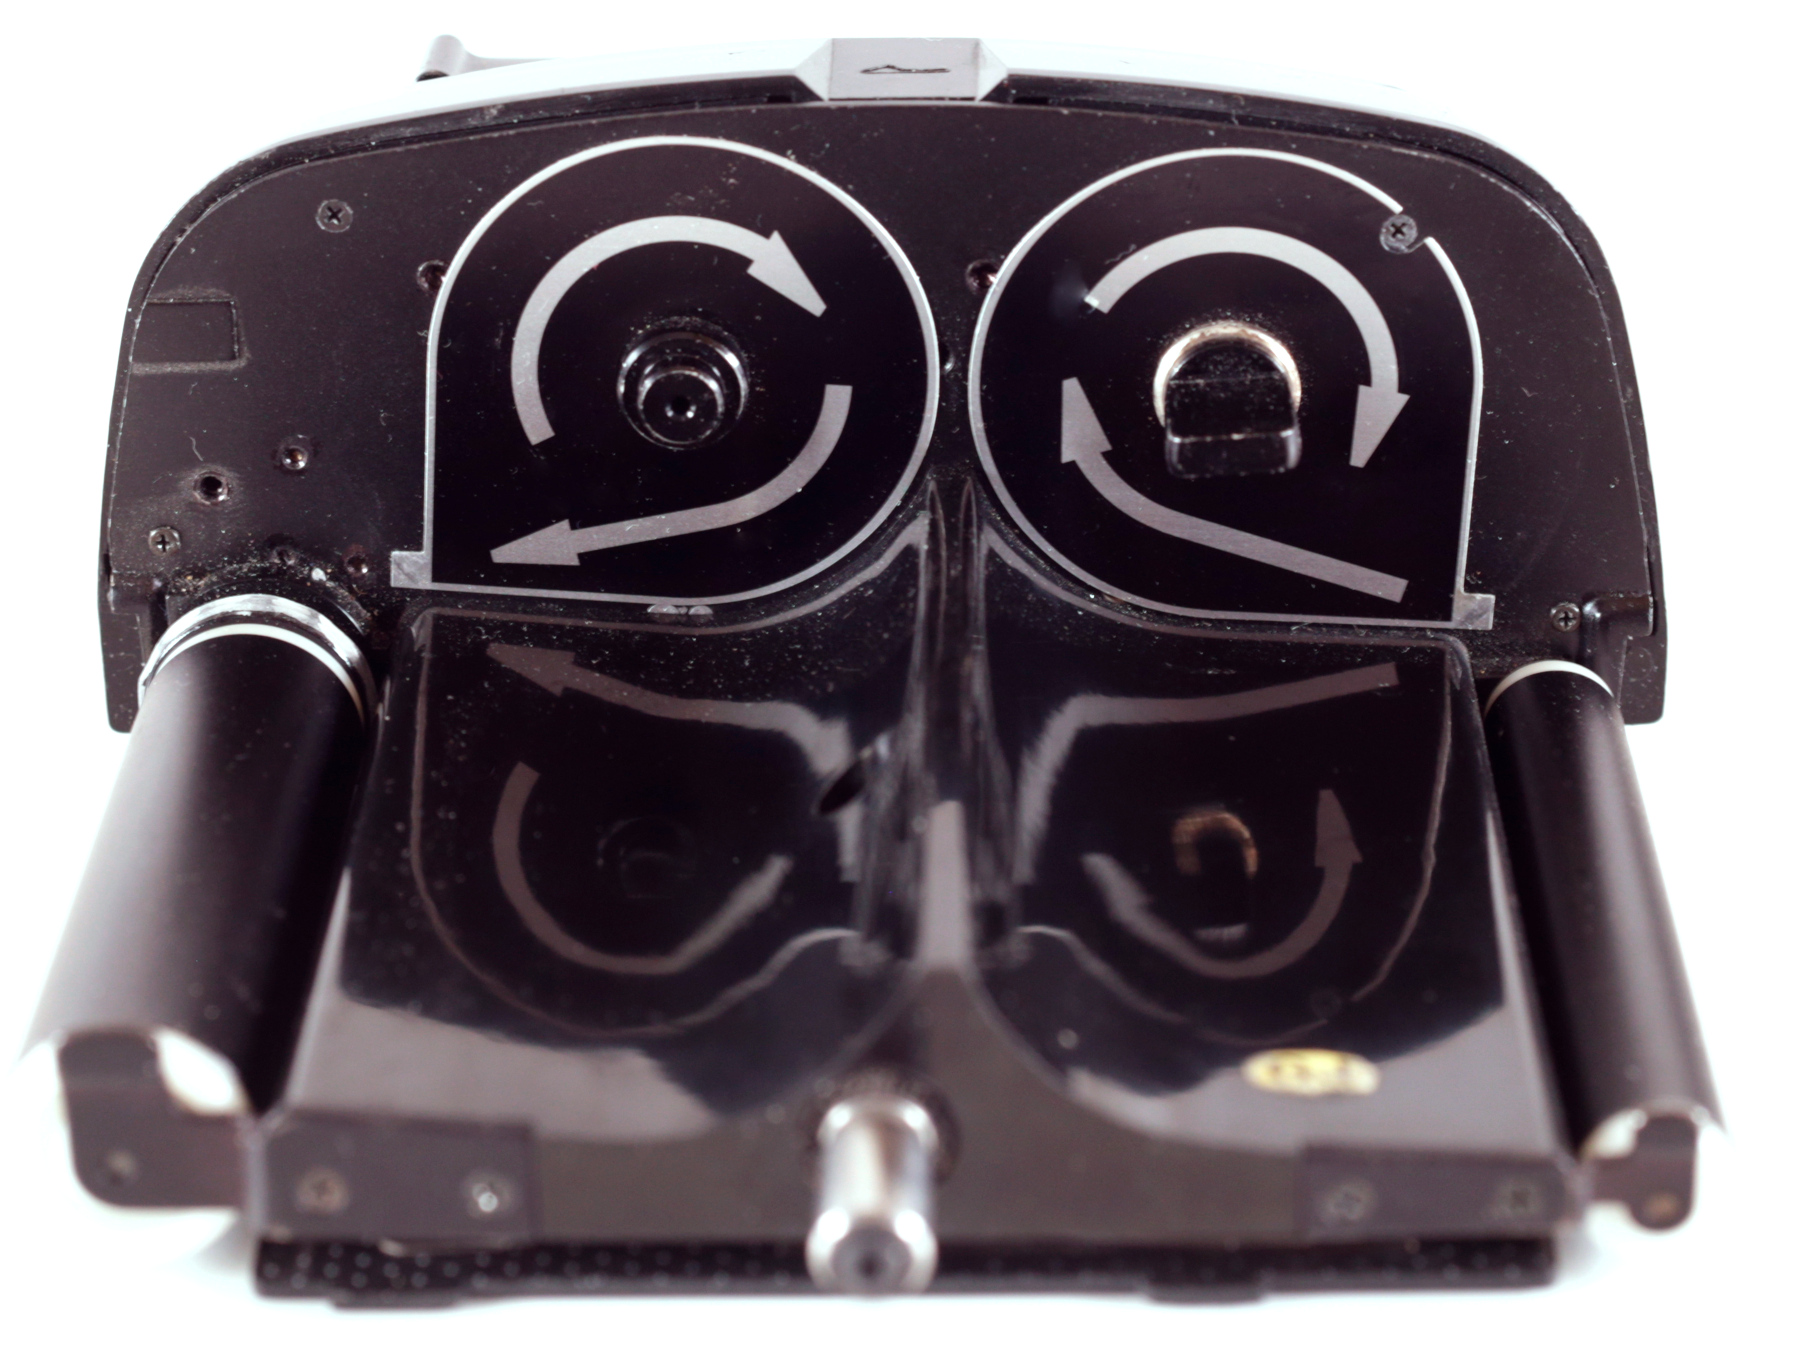
Most 70mm backs are loaded the same way, but I’ll mostly show a Mamiya 70mm back for illustrative purposes. This back contains a useful film loading diagram. I'll show other backs where they deviate in procedure.
Step 1: Open your back and fully remove the film carriage.
Step 2: Pull a length of film roughly equal to the width of your film carriage out of your loaded cassette.
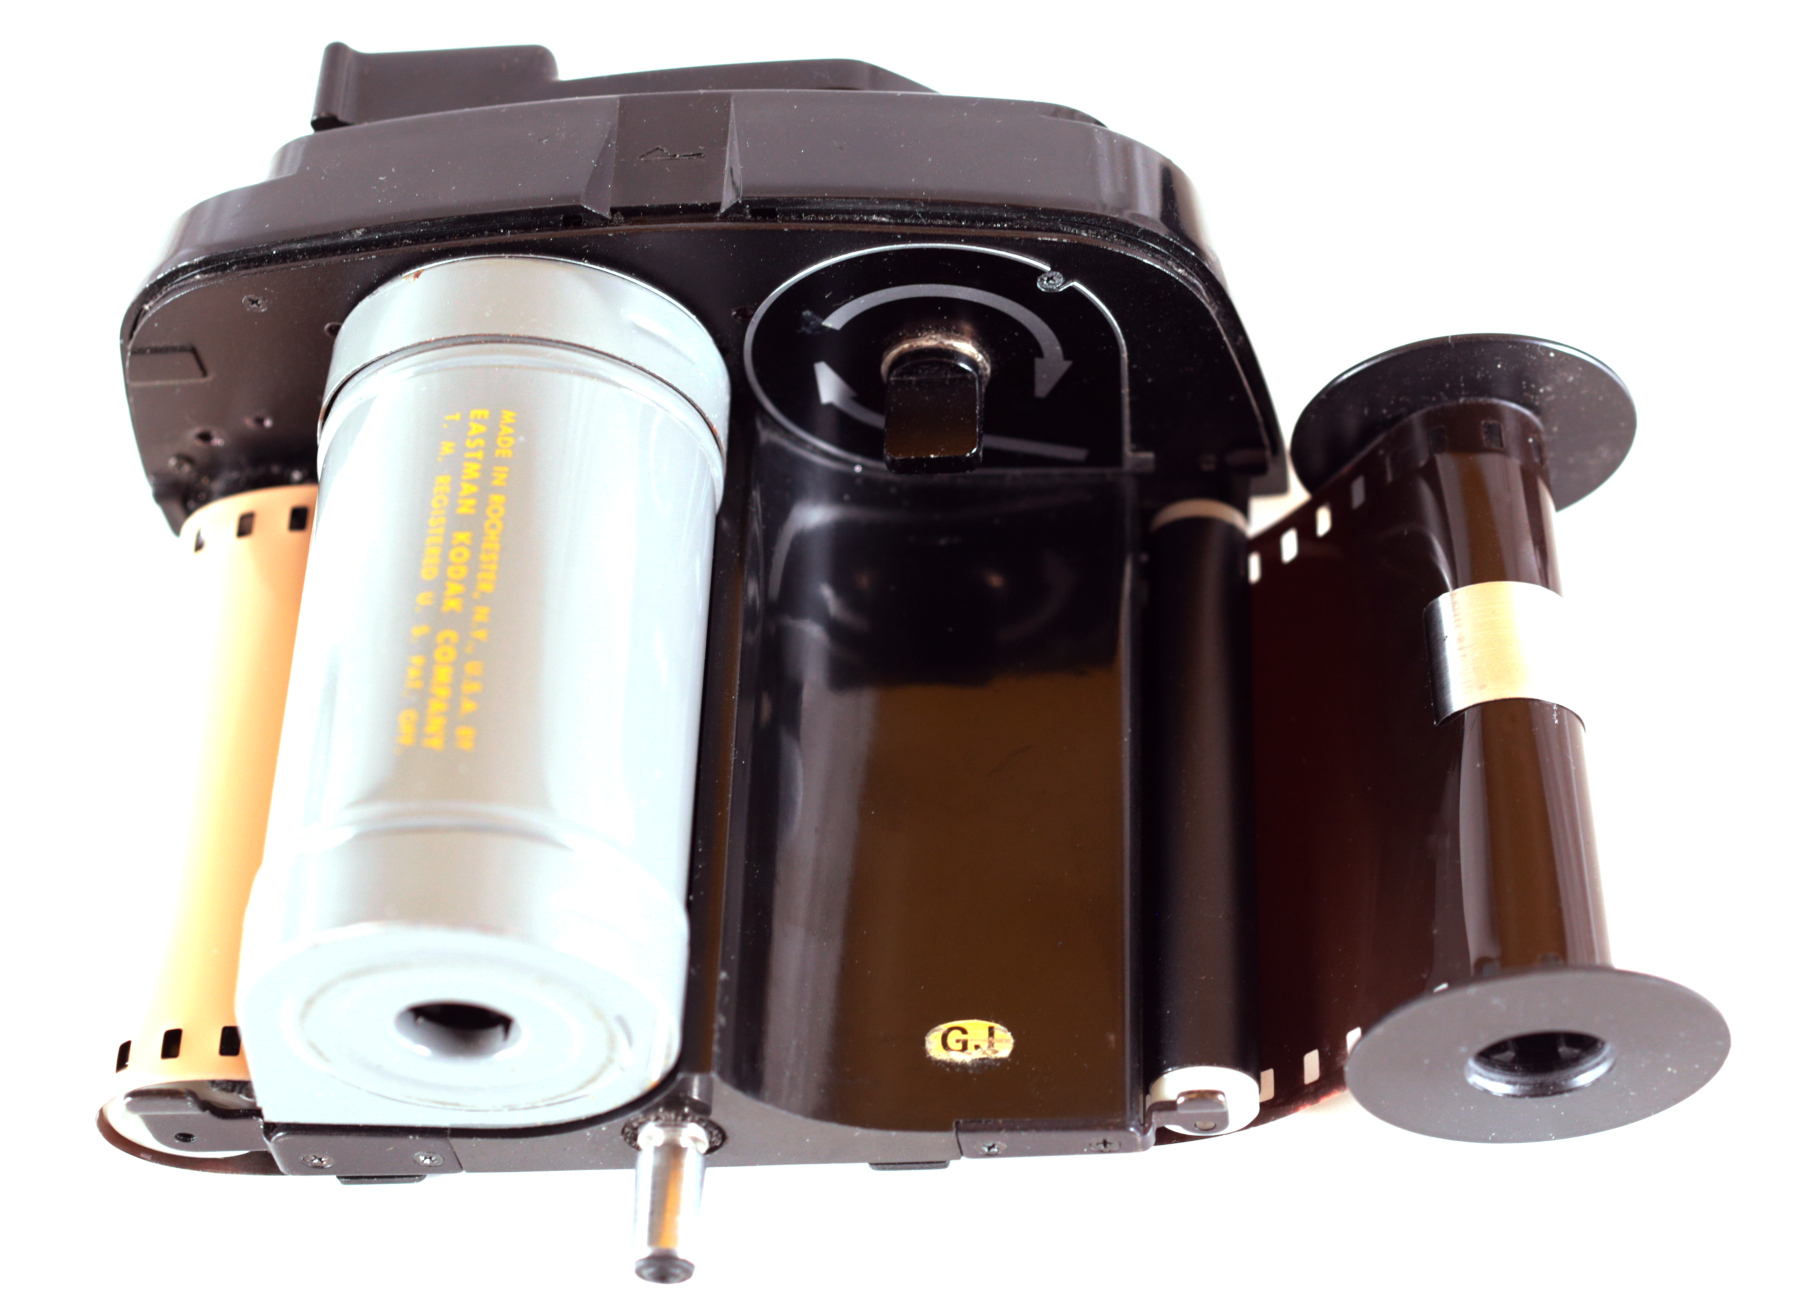
Step 3: Insert your film cassette on the left side of the film carriage. The orientation matters: make sure that the flat side of your cassette is on the outside of the carriage—in other words, “pointing” up. The Mamiya diagram (visible in Step 1) makes this clear.
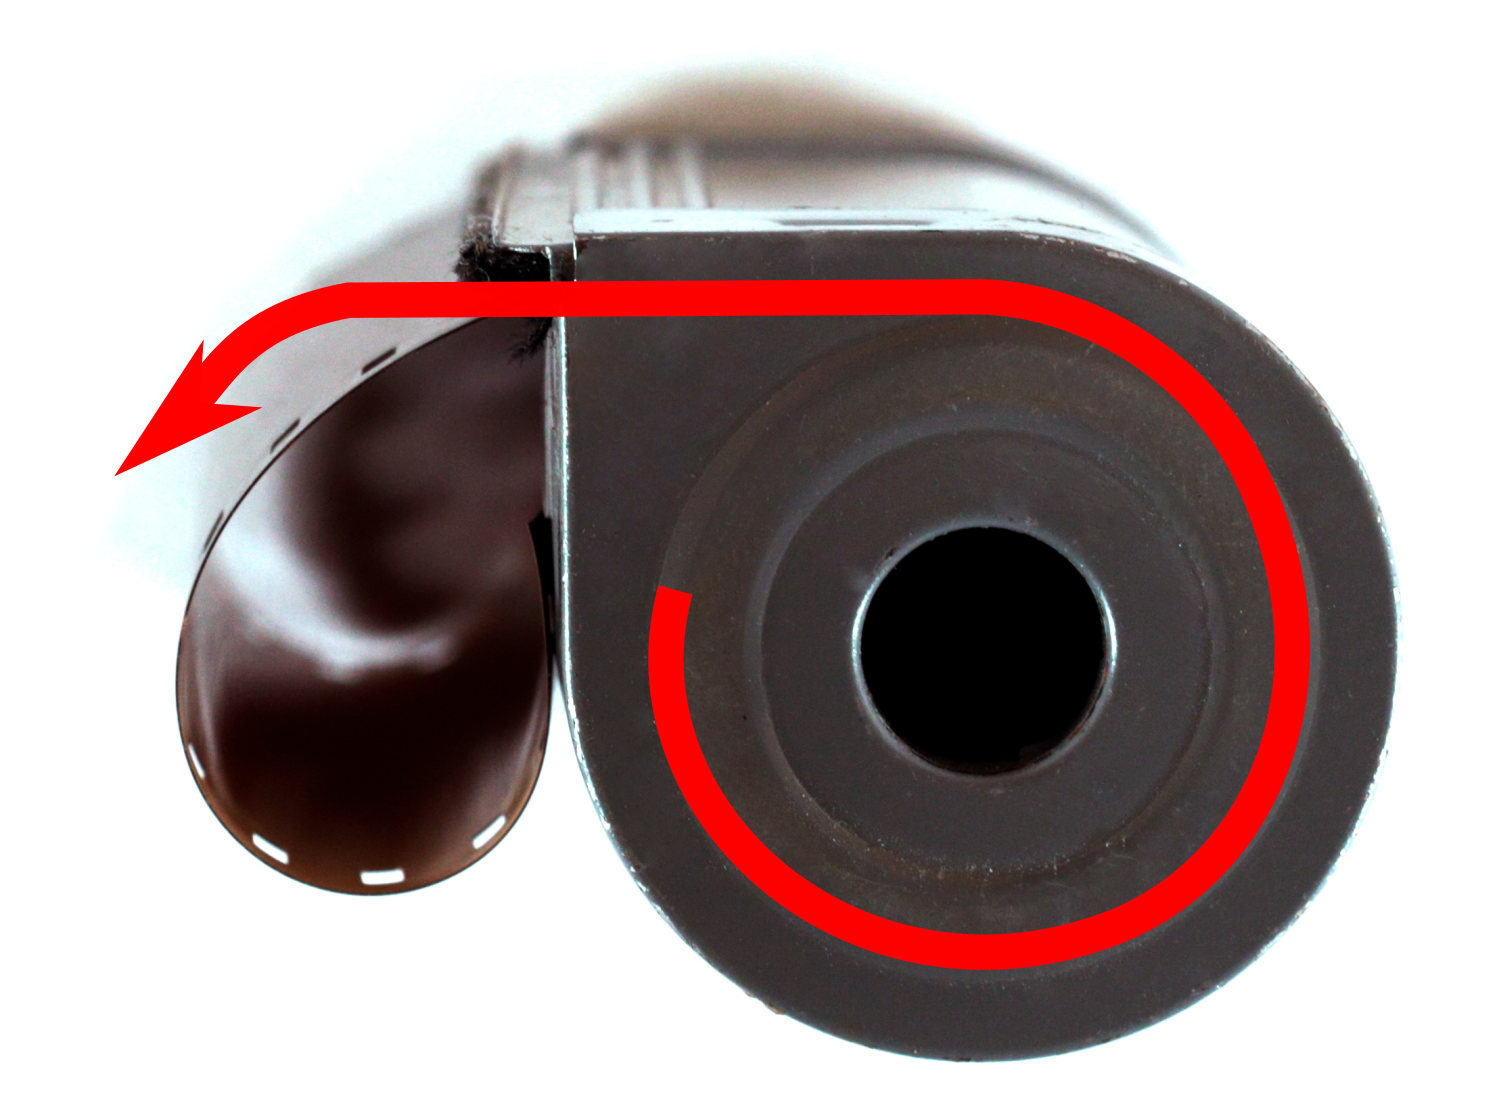
Step 4: Pull your film around the other side of the carriage, over both rollers, and back in the takeup side. Note the direction that the film should feed in the back’s feed diagram and the photos above.
Step 5: Roll your film around a cassette spool (remove it from its cassette and also remove the metal clip from the spool). Make sure the film is winding on the correct direction. After about 2/3 of a turn, snap the metal clip over the film to hold it in place. If using a Linhoff/Hasselblad cassette and spool, fold the very end of the film and feed it into the spool (not pictured). For both types of spool, it doesn't hurt to add a small piece of tape to better secure your film to the spool. (Note: Don't do this on the feed side when bulk spooling; only on the takeup side when loading a camera/back.)
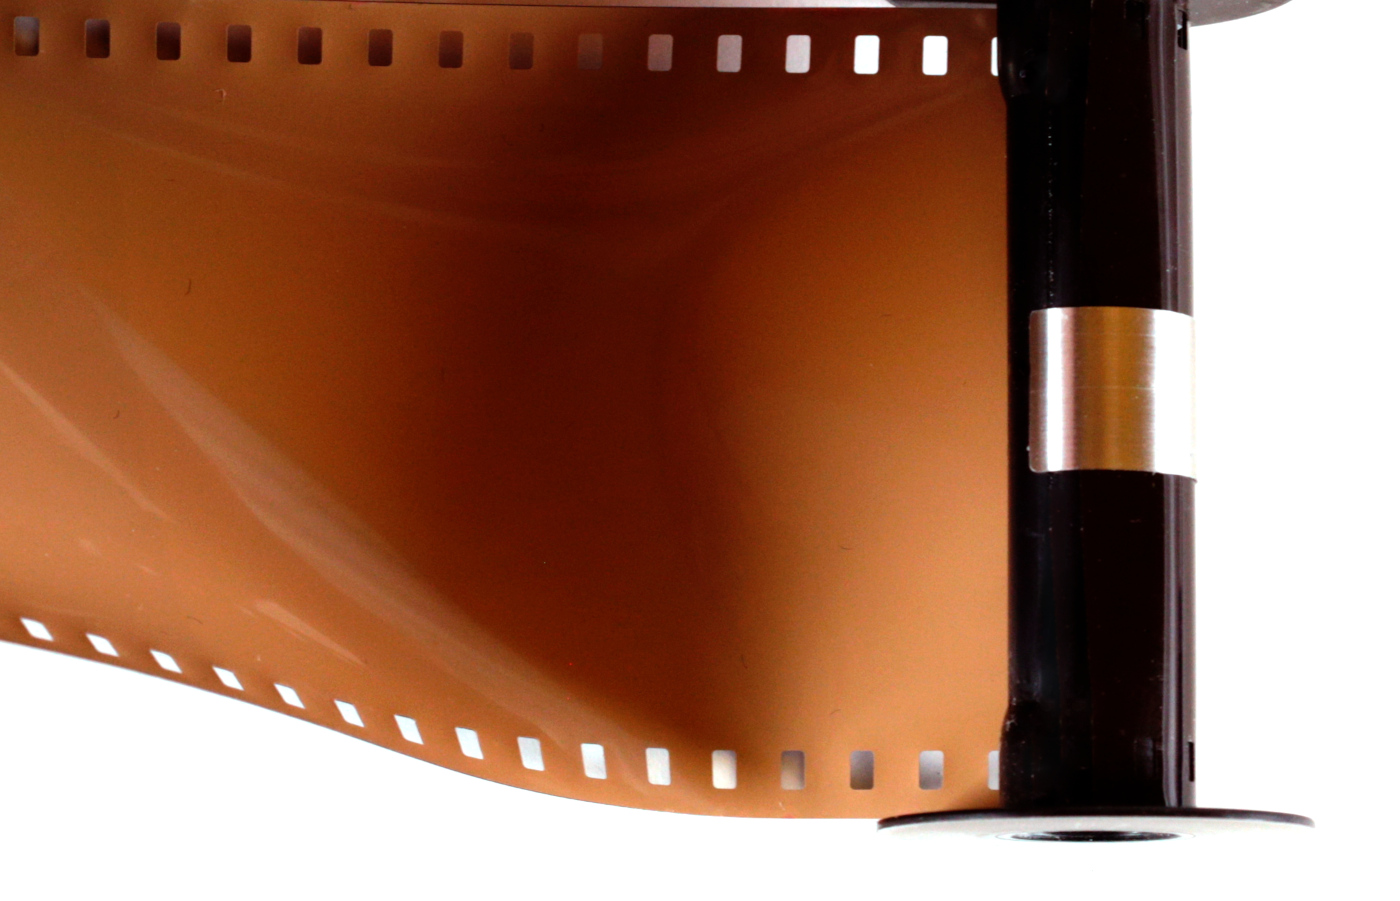
I usually give the film one more full wrap around the spool to ensure that it will catch.
Step 6: Insert the metal cassette over the spool. Whether you will feed the cassette from the bottom or the top of the spool depends on which side of the cassette you opened (it won't always be the same!). The important thing is to orient the cassette so that it's flat side is, once again pointing “up”: that is, opposite the feed cassette. Once you are holding the film spool and film cassette correctly, simply slide the cassette over the spool from the proper end, without changing the orientation of either one.
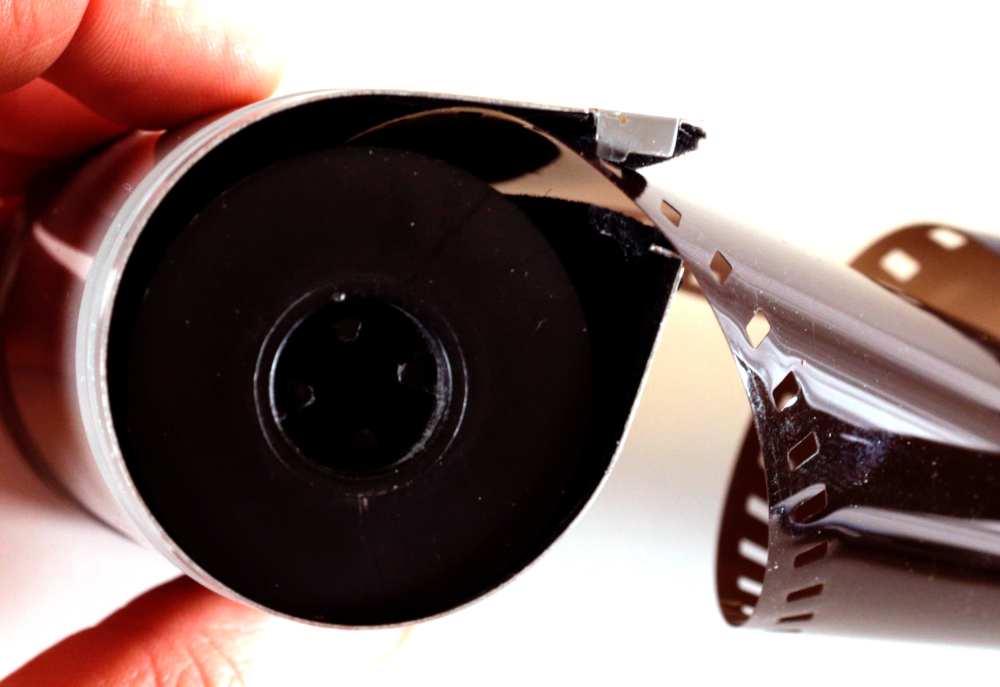
Fully seat the spool inside the cassette. It should “snap” fully inside the cassette.
Step 7: Pinch the middle of the cassette opening so it firmly holds the film (to prevent it from unrolling). You can now let go of the film spool.
Step 8: With your free hand, snap the cassette cap back on the cassette. Note: The easiest way to do this is to insert the pointed tip of the cap over the corresponding tip of the cassette, then push the rounded part of the cap down until it snaps into place.
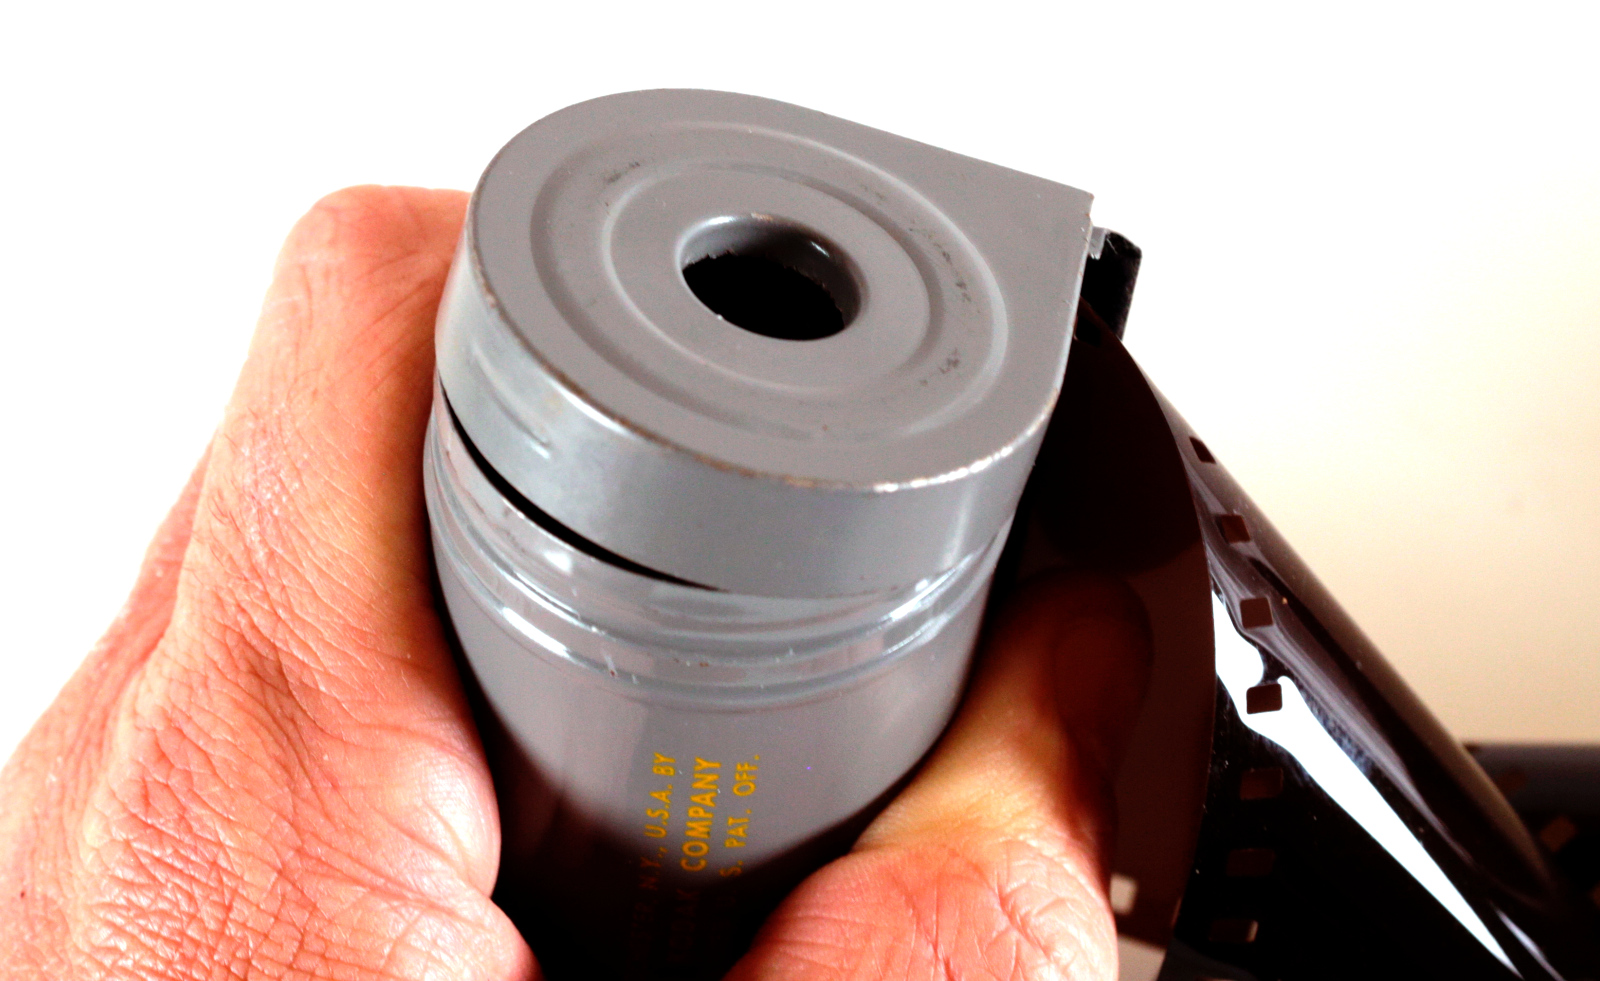
Step 9: Insert the cassette into the film carriage.
Step 10: Holding the feed film so that it won't feed easily, advance the film slightly. This will take up any slack in the film. Feed a bit more to ensure that the film is feeding freely through both cassettes (sometimes a bad or bent cassette will pinch the film and prevent it from feeding freely) and that the film is taking up properly on the takeup spool.
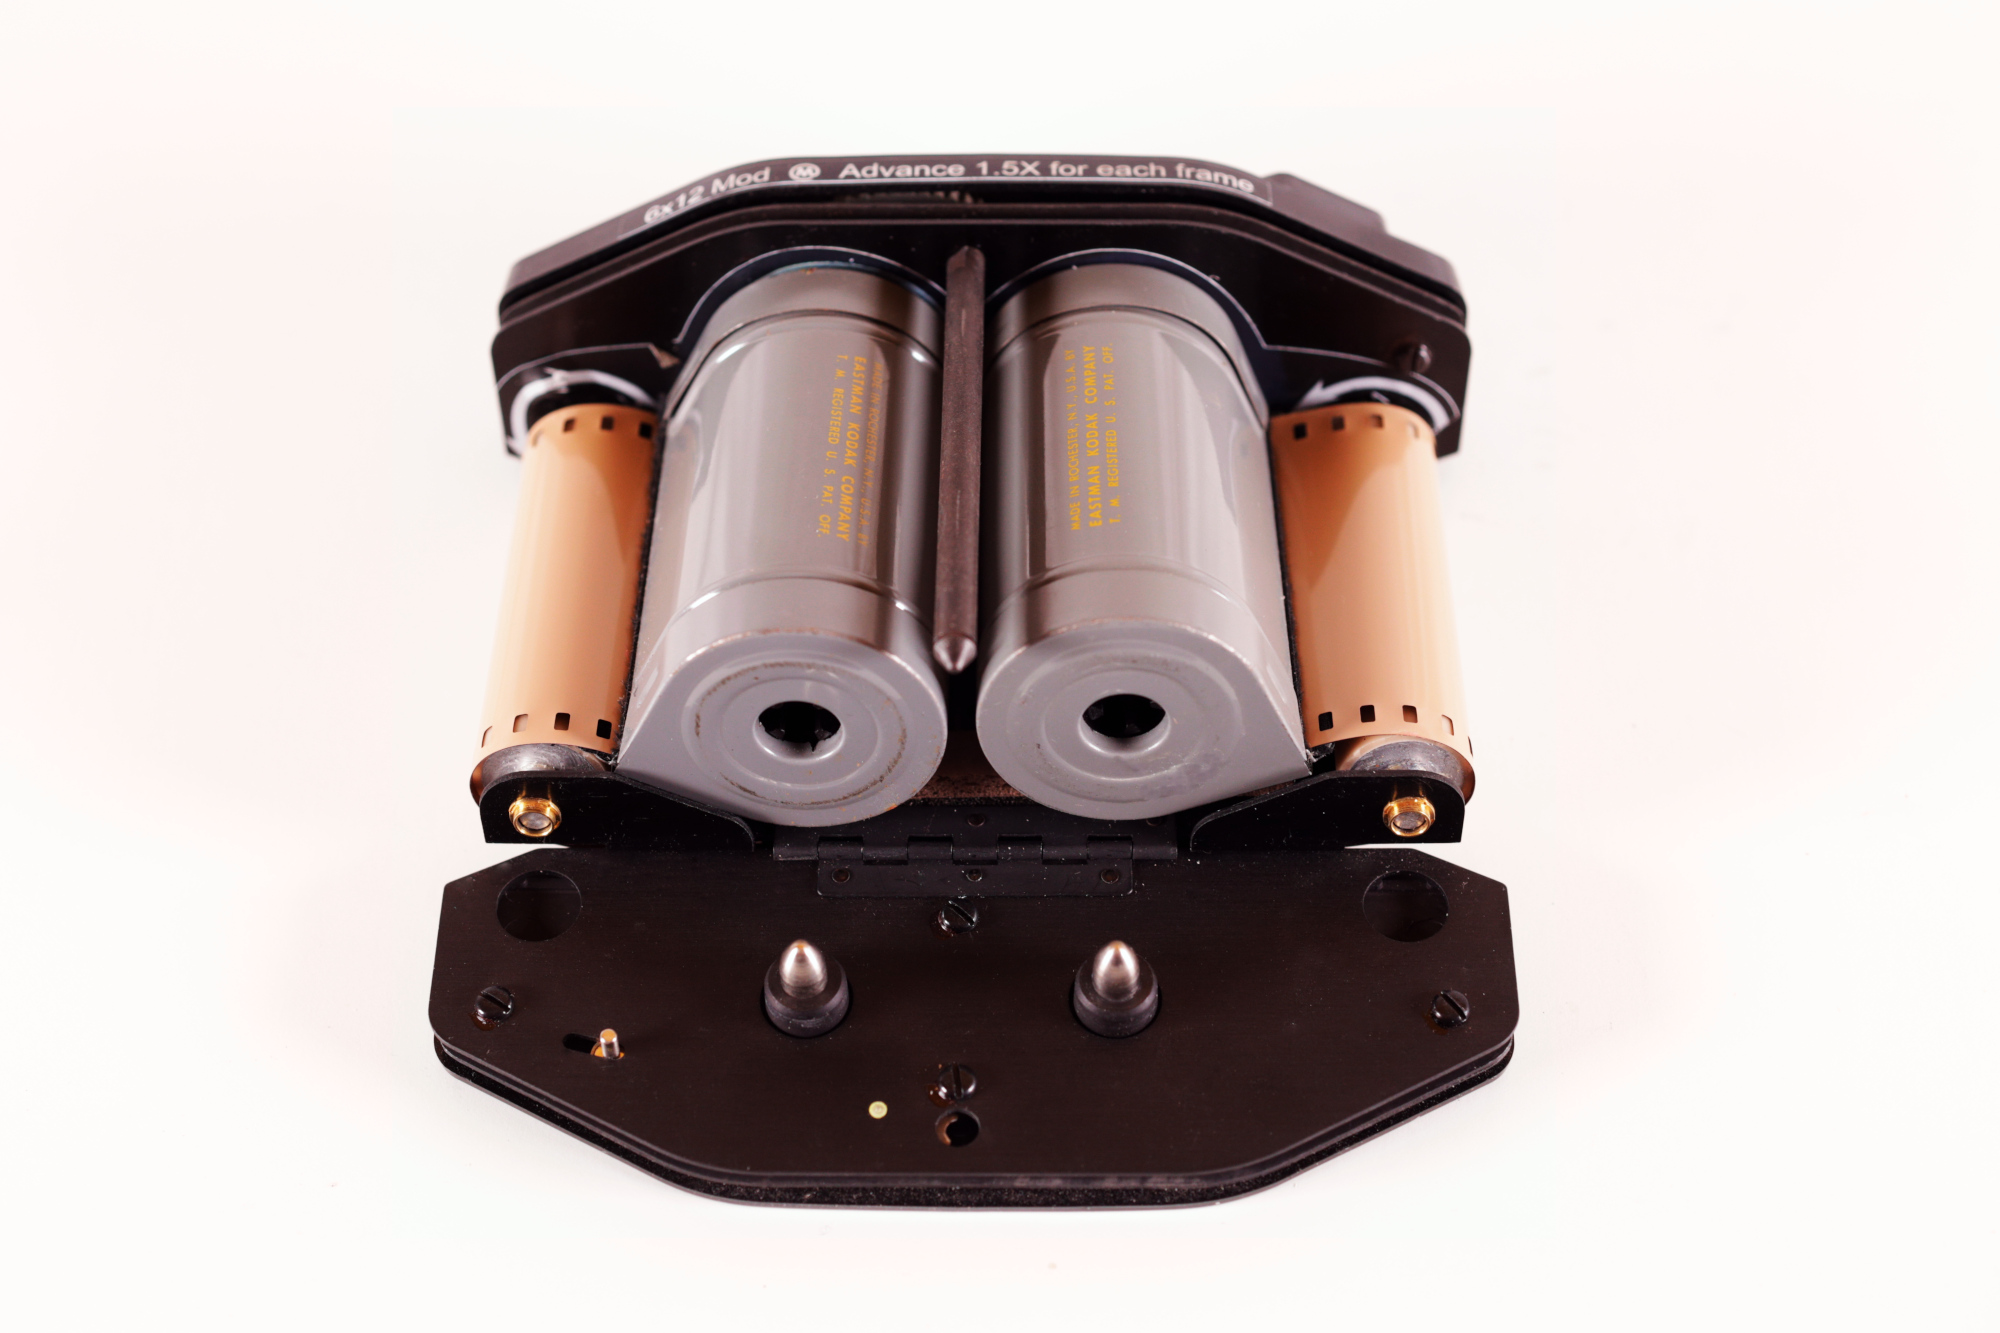
Step 11: Once you are satisfied that the film is feeding properly, insert the entire carriage into the back, lock it in place.
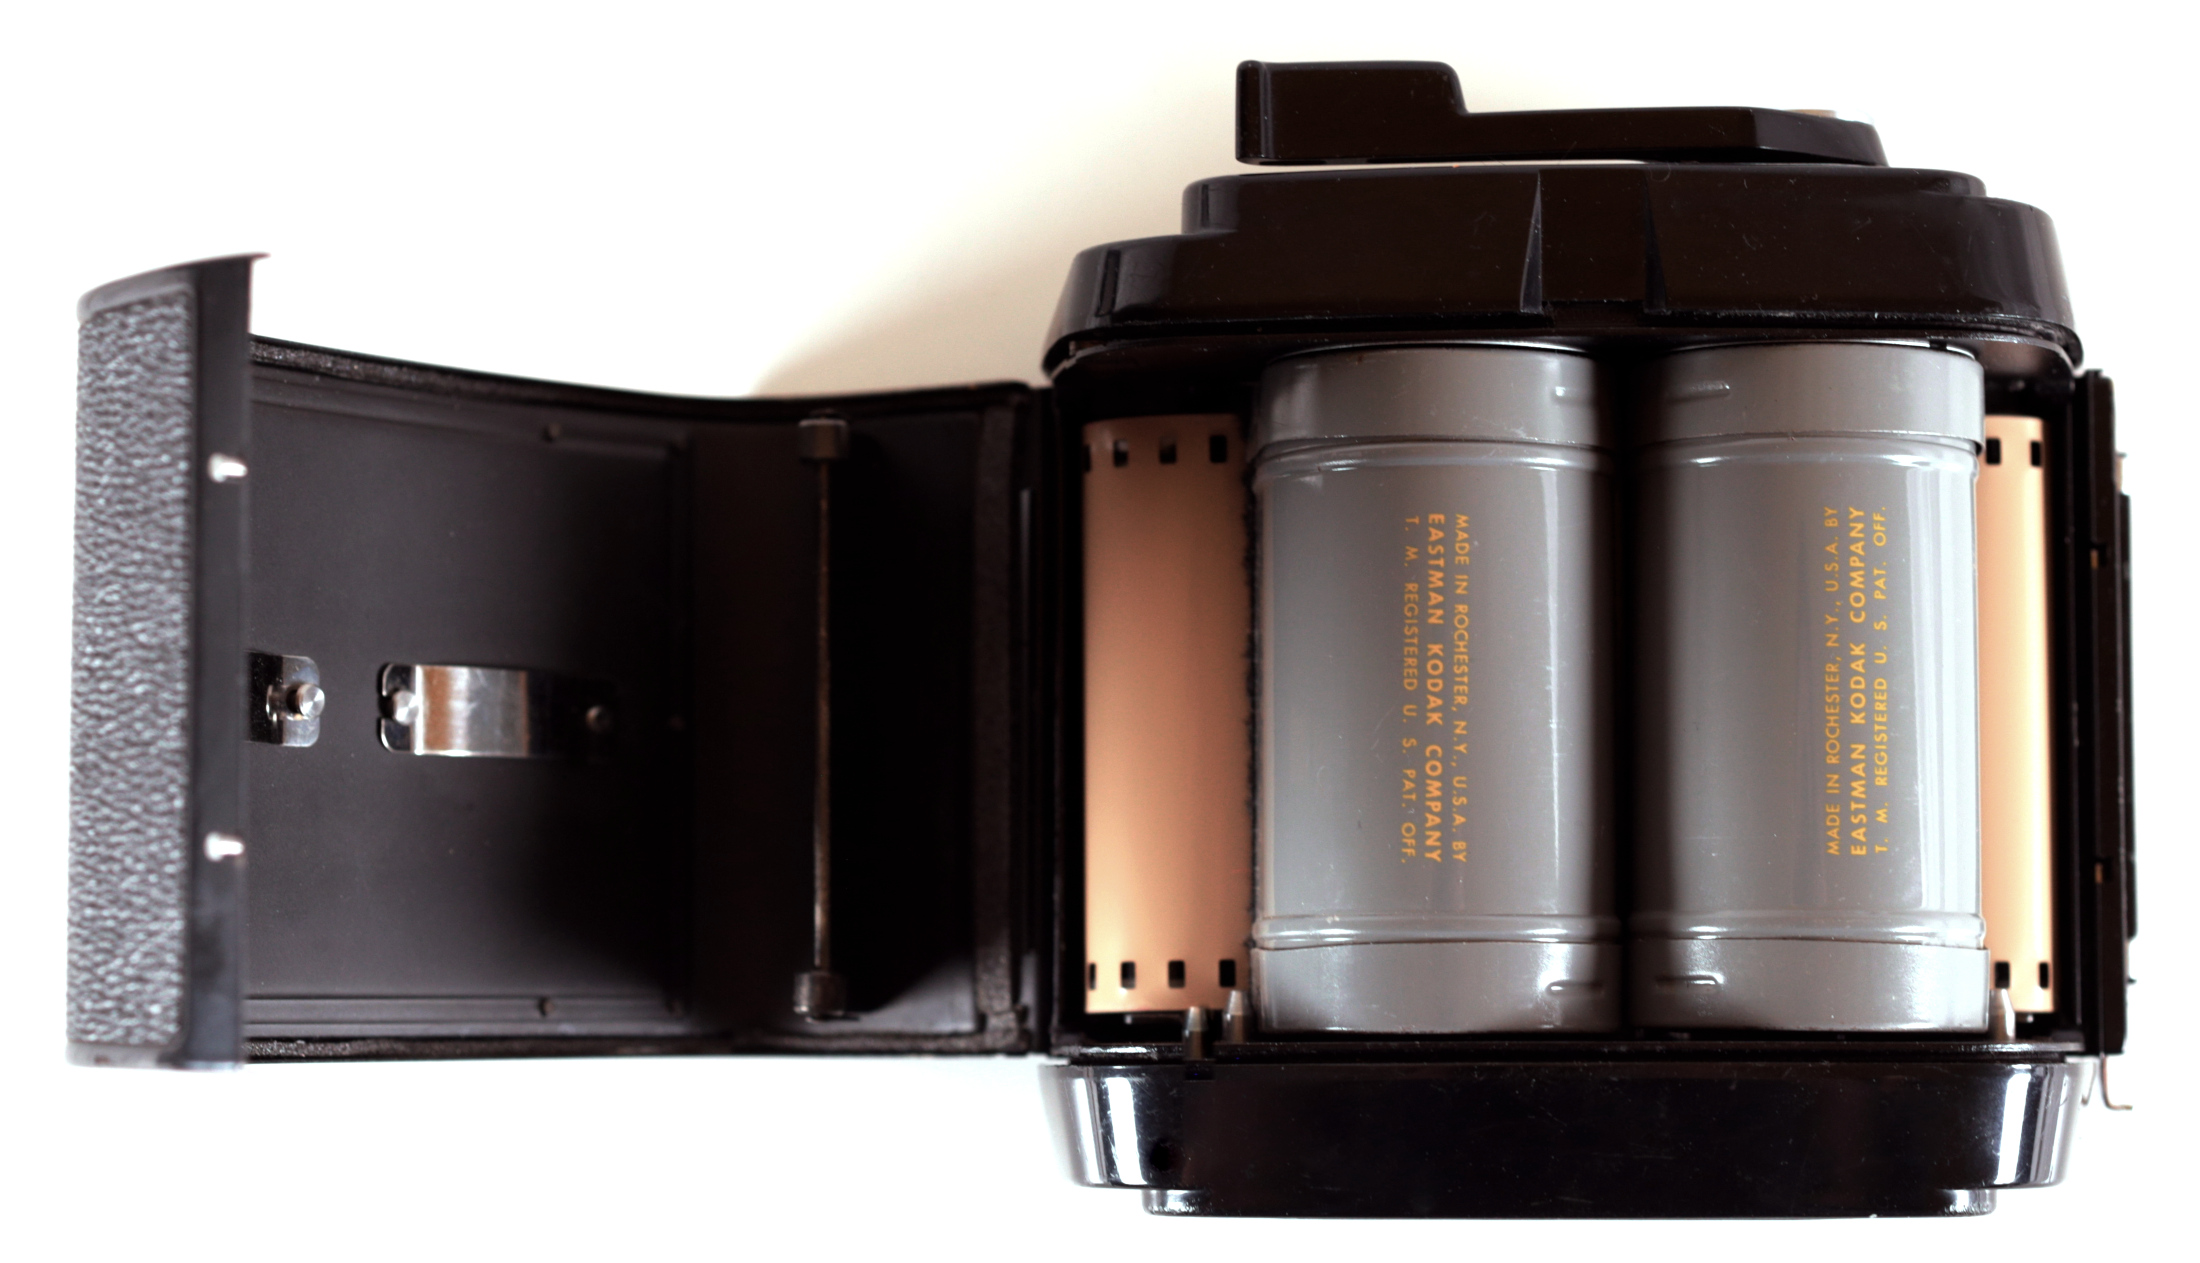
RH50 only: turn the dial on the film counter clockwise until it aligns with the black arrow.
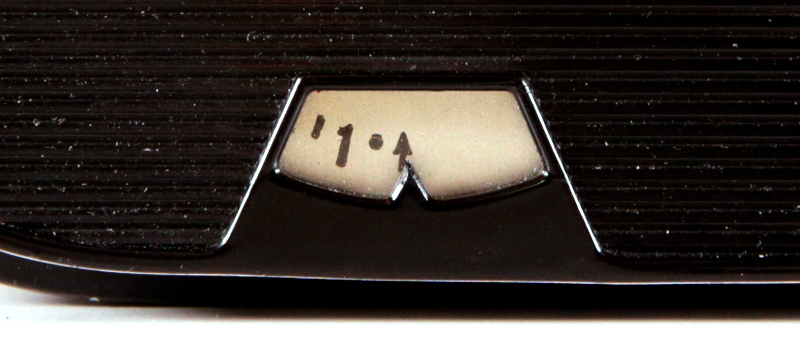
Your back is loaded and ready! Once you mount it on your camera, just advance the film until it reads “1” on the frame counter and shoot away! (Note: On panorama modified RH50 backs, advance one stroke beyond “1” before shooting.)
